Watercolor patterns with a glaze effect
Describe watercolor pattern
Watercolor Patterns:
It has a characteristics that differentiates it from other mediums like acrylics or oil, these characteristics not only define the physical and aesthetic properties of watercolor paints but also affect the techniques artists use in their work.
1. Soft, blended edges
2. Transparent layers
3. Fluid, organic shapes
4. Muted, dreamy colors
5. Textured, paper-like quality
There are many different types of watercolours, and the most common are tubes, pans, and bottles filled with liquid pigment.
1. Wash: Smooth, uniform base color
2. Gradation: Gradual color transition
3. Wet-on-wet: Blended, merged colors
4. Drybrush: Textured, rough effect
5. Splatter: Dynamic, spontaneous droplets
*Patterns range from simple leaves to whimsical floral or abstract frame tiles to typography lettering or stencil designs or blocks.
1. Floral: Delicate blooms, foliage
2. Abstract: Expressive, non-representational
3. Geometric: Soft, watercolor geometry
4. Landscape: Dreamy skies, mountains, water
5. Whimsical: Fantastical creatures, scenes
*Watercolor Techniques are amazing and beautiful when we use water with the pigment or powder.
1. Wet-on-wet
2. Glazing
3. Negative painting
4. Drybrush
5. Salt sprinkling
*Inspirations:*
1. Nature
2. Impressionism
3. Expressionism
4. Abstract Expressionism
5. Asian art
*Digital Watercolor:*
1. Procreate
2. Adobe Photoshop
3. Watercolor brushes
4. Textures
5. Layer blending modes
Watercolor patterns evoke a sense of elegance, subtlety, and creativity.
Would you like to explore specific watercolor techniques or styles?
Yes, okay so the answer is: Work from light to dark!
This is the traditional approach to building up a subject in watercolors. It’s one of the first things newcomers need to grasp, and it’s actually quite unique to watercolor paints. When we get the basics in watercolor we can maneuver the hands so freely. And, then we can go further with blending the colors as we like.
Example:
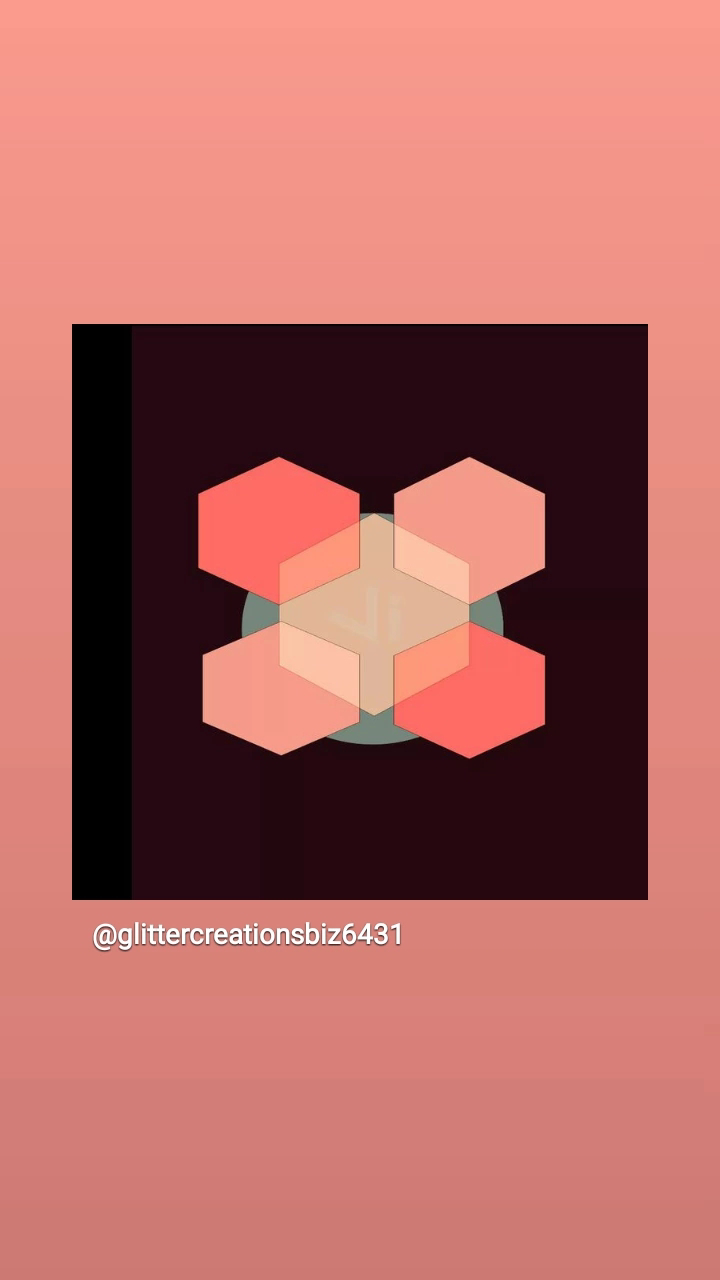
Glazing technique in watercolor
Glaze in watercolor nature inspiring pattern tile
*What is Glazing?*
Glazing is a watercolor technique that involves applying multiple, thin, transparent layers of paint to achieve deep, rich, and luminous colors.
*How to Glaze:*
1. Prepare your surface: Ensure your paper is dry and free of dust.
2. Mix your glaze: Combine water and pigment to create a transparent mixture.
3. Apply the glaze: Use a soft brush to apply the glaze evenly.
4. Allow to dry: Let each layer dry completely before adding the next.
5. Build up layers: Repeat steps 3-4 to achieve desired depth.
*Tips and Variations:*
1. Start with light layers: Gradually increase pigment intensity.
2. Use masking fluid: Protect areas from unwanted color.
3. Experiment with ratios: Adjust water-to-pigment ratio for desired transparency.
4. Mix media: Combine glazing with other techniques (wet-on-wet, drybrush).
5. Consider paper quality: Choose paper suitable for multiple layers.
*Effects of Glazing:*
1. Deepens colors: Enhances saturation and vibrancy.
2. Creates luminosity: Adds depth and glow.
3. Unifies composition: Ties elements together.
4. Adds texture: Builds up layers for dimensional effect.
*Common Applications:*
1. Skies and backgrounds
2. Shadows and depth
3. Rich foliage and botanicals
4. Atmospheric perspective
5. Abstract and expressive works
*Challenges and Considerations:*
1. Avoid over-glazing: Too many layers can muddy colors.
2. Control pigment flow: Balance water and pigment.
3. Allow drying time: Patience is key.
*Notable Artists Using Glazing:*
1. J.M.W. Turner
2. John Singer Sargent
3. Charles Reid
*Digital Glazing:*
1. Layer blending modes (Multiply, Overlay)
2. Watercolor brushes in Procreate or Photoshop
3. Gradient tools
*Practice Exercise:*
1. Create a simple still-life composition.
2. Apply a glaze to the background.
3. Gradually build up layers.
This pattern tile in watercolor is digital. And the image gets more clear about how the colors are glazed. You can see the Rose flower on the right side on the down layer. Each layer is painted with more water diluted of the colored brush. Each layer of glaze allows the underlying layers to shine through, creating a sense of depth and enhancing colour intensity.
There is another project which I have to showcase.
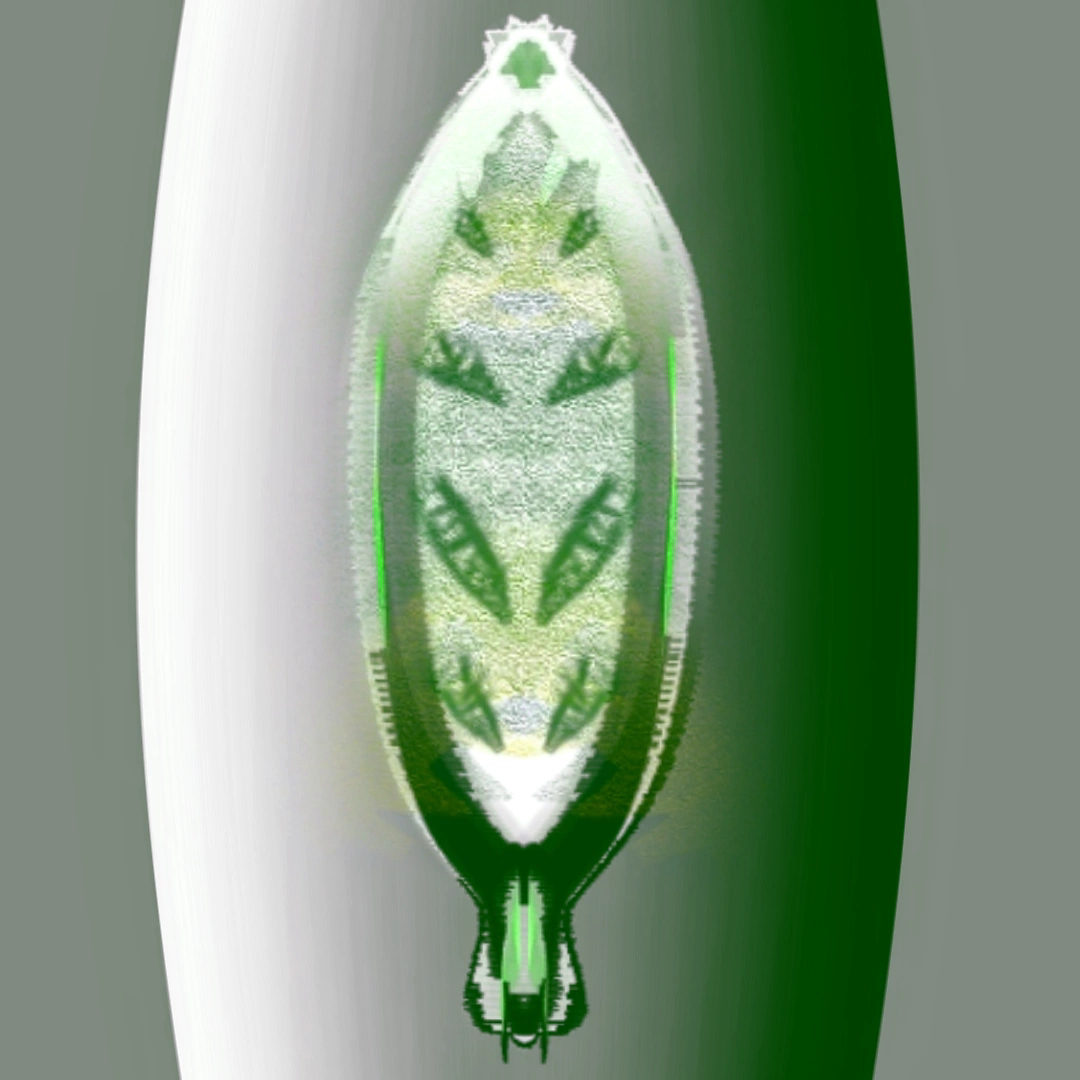
This is just wonderful design in various shapes, colors and texture. And what I wanted to compare is the first image of Flower vase and the second almost coincided with each other as far as the glazing effect goes. I am really thrilled about the technique and the outcome.
Skill and precision come next. The application of glaze requires a steady hand. To begin with, there is nothing to be gained by glazing with neutral grays or dull colors. Grays are more effective when created with opaque or semi-opaque earth colors, or when black is admixed with white. Glazing creates, as we have said, an extraordinary luminosity that is impossible to achieve otherwise.
The glaze must be uniformly transparent and consistently applied across the painting for a coherent final piece.
Glaze is a thin transparent on a painting which modifies the appearance of the underlying paint layer. Glazes can change the chroma, value, hue and texture of a surface. Glazes consist of a great amount of binding medium in relation to a very small amount of pigment.
The glaze must be uniformly transparent and consistently applied across the painting for a coherent final piece.
Glaze effects in watercolor paintings involve layering transparent washes to achieve deep, rich colors and subtle shifts in value. Here are different types of glaze effects:
*1. Wet-on-Wet Glazing*: Applying a wet glaze over a previously wet layer, allowing colors to blend and merge.
*2. Wet-on-Dry Glazing*: Applying a wet glaze over a dry layer, creating crisp, defined edges.
*3. Layered Glazing*: Building up multiple layers of transparent washes to achieve complex, nuanced colors.
*4. Wash Glazing*: Applying a thin, transparent layer of paint over a larger area.
*5. Drybrush Glazing*: Dragging a almost-dry brush across the paper to create textured, subtle glaze effects.
*6. Glaze Resist*: Applying a glaze over a masked area (e.g., with masking fluid), revealing underlying colors.
*7. Negative Glazing*: Painting around a subject with glazes, creating a sense of depth and atmosphere.
*Common Glaze Techniques:*
1. *Wash and Glaze*: Alternating between washes and glazes to build up layers.
2. *Glaze and Scrape*: Applying glaze, then scraping off excess paint with a blade or cloth.
3. *Glaze and Blend*: Softening edges by blending glazes with a wet brush.
*Popular Glaze Effects:*
1. *Atmospheric Perspective*: Creating depth by layering glazes to fade colors into the distance.
2. *Skin Tones*: Achieving subtle, nuanced flesh tones with layered glazes.
3. *Water and Sky*: Capturing soft, shimmering effects in water and sky with glazes.
4. *Wood and Stone*: Creating textured, organic surfaces with drybrush glazing.
*Tips and Considerations:*
1. Choose the right pigments for glazing (e.g., transparent oxides, phthalo blues).
2. Experiment with different brushstrokes and textures.
3. Control the amount of water and pigment for desired transparency.
4. Allow layers to dry completely before adding additional glazes.
Some notable watercolor artists known for their glaze techniques include:
1. J.M.W. Turner
2. John Singer Sargent
3. Charles Reid
4. Joseph Zbukvic
Information on specific glaze techniques or watercolor artists?
Crackle effects on glaze paint can add unique texture and visual interest to your watercolor paintings. Here's how to achieve crackle effects:
*Methods:*
1. *Salt Sprinkle*: Sprinkle salt on wet glaze, allowing it to dry before brushing off.
2. *Wax Resist*: Apply wax (e.g., beeswax or candle wax) to areas where you want cracks, then glaze over.
3. *Gel Medium*: Mix gel medium with paint to create a thick, crackling consistency.
4. *Drying Time*: Control drying time by adjusting water content or using a hairdryer.
5. *Surface Tension*: Experiment with surface tension by applying glaze to wet or dry paper.
*Techniques:*
1. *Crackle Glaze*: Apply multiple thin layers, allowing each to dry before adding the next.
2. *Crackle Wash*: Mix crackle medium with wash to create subtle, textured effects.
3. *Drybrush Crackle*: Drag a almost-dry brush across the paper to create textured cracks.
*Tips:*
1. Experiment with different glaze consistencies and application methods.
2. Control crack size by adjusting salt or wax particle size.
3. Enhance cracks with contrasting colors or additional glazes.
4. Avoid over-glazing, as it can fill in cracks.
*Common Crackling Patterns:*
1. *Fine cracks*: Salt sprinkle or wax resist methods.
2. *Large cracks*: Gel medium or drying time manipulation.
3. *Web-like cracks*: Surface tension technique.
4. *Mottled cracks*: Combining multiple crackling methods.
*Artistic Applications:*
1. *Textured landscapes*: Crackle effects can mimic tree bark, rock, or dry earth.
2. *Abstract backgrounds*: Crackling adds dynamic texture and visual interest.
3. *Floral details*: Subtle crackling can enhance petal or leaf textures.
4. *Architectural renderings*: Crackling can simulate aged stone or weathered wood.
Adding a glaze effect to your final painting can enhance the colors and create a stunning finish. Here's a step-by-step guide on how to put a glaze effect on your painting:
*Preparation*:
1. Ensure your painting is completely dry.
2. Choose a glaze medium (e.g., watercolor glaze, acrylic glaze, or oil glaze).
3. Select a brush suitable for glazing (e.g., flat, round, or mop brush).
*Glazing Techniques*:
*Wet-on-Wet Glazing:*
1. Mix glaze medium with pigment (transparent colors work best).
2. Apply the glaze mixture to a wet painting or a previously glazed area.
3. Blend the glaze with a wet brush.
*Wet-on-Dry Glazing:*
1. Mix glaze medium with pigment.
2. Apply the glaze mixture to a dry painting.
3. Use a wet brush to blend or spread the glaze.
*Application Methods*:
1. Wash: Apply glaze evenly across the painting.
2. Drybrush: Drag a almost-dry brush across the painting.
3. Spattering: Flick glaze onto the painting.
*Tips and Considerations*:
1. Start with thin layers, gradually building up to desired intensity.
2. Experiment with different glaze consistencies.
3. Control the amount of pigment and medium.
4. Test glaze effects on a separate surface.
*Common Glaze Effects*:
1. Deepening colors
2. Enhancing contrast
3. Adding texture
4. Creating subtle shifts in value
*Final Touches*:
1. Allow the glaze to dry completely.
2. Varnish your painting (optional).
3. Inspect and make any final adjustments.
Some popular glaze mediums include:
1. Watercolor: Winsor & Newton, Daniel Smith, or Holbein
2. Acrylic: Golden, Liquitex, or Daler-Rowney
3. Oil: Dammar Varnish, Linseed Oil, or Turpentine
Remember, practice makes perfect! Experiment with different glazing techniques to achieve the desired effect.
Let's dive into creating a stunning floral painting with glaze effects.
*Floral Glazing Techniques:*
1. *Petals:* Use wet-on-wet glazing to create soft, delicate petals.
2. *Leaves:* Apply wet-on-dry glazing for crisp, defined leaves.
3. *Centers:* Use drybrush glazing to add texture and dimension to flower centers.
4. *Background:* Employ wash glazing to create a subtle, gradient background.
*Glaze Color Palette:*
1. *Pastel shades:* Soft pinks, blues, and yellows for delicate petals.
2. *Earth tones:* Greens, browns, and tans for natural-looking leaves and stems.
3. *Deep jewel tones:* Rich blues, purples, and reds for dramatic flower centers.
*Floral Glazing Tips:*
1. *Layering:* Build up layers of glaze for deep, rich colors.
2. *Blending:* Soften edges and blend colors for subtle transitions.
3. *Texture:* Use drybrush or palette knife to add texture to petals and leaves.
4. *Contrast:* Balance warm and cool colors to create visual interest.
*Popular Floral Glaze Effects:*
1. *Soft Focus:* Create a dreamy, ethereal effect by glazing over entire flowers.
2. *Sun-Kissed:* Use warm glazes to simulate sunlight on petals and leaves.
3. *Dewy:* Apply cool glazes to capture the freshness of morning dew.
*Inspirational Artists:*
1. *Georgia O'Keeffe:* Famous for her bold, colorful floral paintings.
2. *Claude Monet:* Mastered capturing light and color in his floral works.
3. *Rachel Ruysch:* Dutch still-life painter known for her exquisite floral arrangements.
*Materials Needed:*
1. Watercolor or acrylic paints
2. Glaze medium (e.g., watercolor glaze or acrylic glazing liquid)
3. Brushes (flat, round, and mop)
4. Palette or mixing surface
5. Water container.
Now, I am more confident in making my watercolor realism project well on its way. If you are ready to start then lets go!
Thank you for your help and support in visiting my ipage blog.
Cheers,
Gcb studios


Comments
Post a Comment