
To get started, gather some basic supplies like paper, glue, scissors, and colorful materials like markers, stamps, and stickers. You can also reuse old materials like cardboard, newspaper, and magazine cutouts.
Feel free to mix and match techniques to create unique cards. For example, you can combine stamp art with collage or add washi tape to a hand-painted card.
Here are some greeting card making ideas:
1. *Hand-painted cards*: Create unique designs using watercolors, acrylics, or oils.
2. *Collage cards*: Cut out images and words from magazines or scrapbook paper to create a personalized collage.
3. *Photocards*: Attach a favorite photo to the front of the card.
4. *Stamp art*: Use rubber stamps and ink pads to create fun designs.
5. *Quilled cards*: Roll and shape narrow strips of paper into intricate designs.
6. *Decoupage cards*: Glue cut-out images onto the card and coat with varnish.
7. *Pop-up cards*: Create 3D elements that pop up when the card is opened.
8. *Washi tape cards*: Use colorful tape to create patterns and designs.
9. *Monogrammed cards*: Add a personal touch with a hand-drawn or sticker monogram.
10. *Recycled material cards*: Use old maps, newspaper, or cardboard to create eco-friendly cards.
Which type of greeting card are you interested in making? I can provide more specific guidance and ideas!
Remember, the most important thing is to have fun and be creative! Don't worry if your first attempts don't turn out perfectly – it's all about experiment Decoupage cards are a great choice! Decoupage is a fun and easy technique that involves gluing cut-out images onto a surface and then coating them with a sealant like varnish or glue.
Here's a simple guide to create a decoupage card:
Materials:
- Card base (white or any color)
- Magazines, scrapbook paper, or printed images
- Scissors
- Glue (like Mod Podge)
- Varnish or clear glue
- Optional: ribbons, stickers, or other embellishments
Steps:
1. Choose your images and cut them out.
2. Apply a thin layer of glue to the card base.
3. Arrange the cut-out images on the card, overlapping them if desired.
4. Apply another layer of glue on top of the images.
5. Let it dry completely.
6. Apply a coat of varnish or clear glue to seal and protect the images.
7. Add embellishments if desired.
8. Write your message inside the card.
Tips:
- Use a variety of images and colors to create a unique design.
- Experiment with different glue techniques, like layering or texture.
- Add a personal touch with handwritten messages or names.
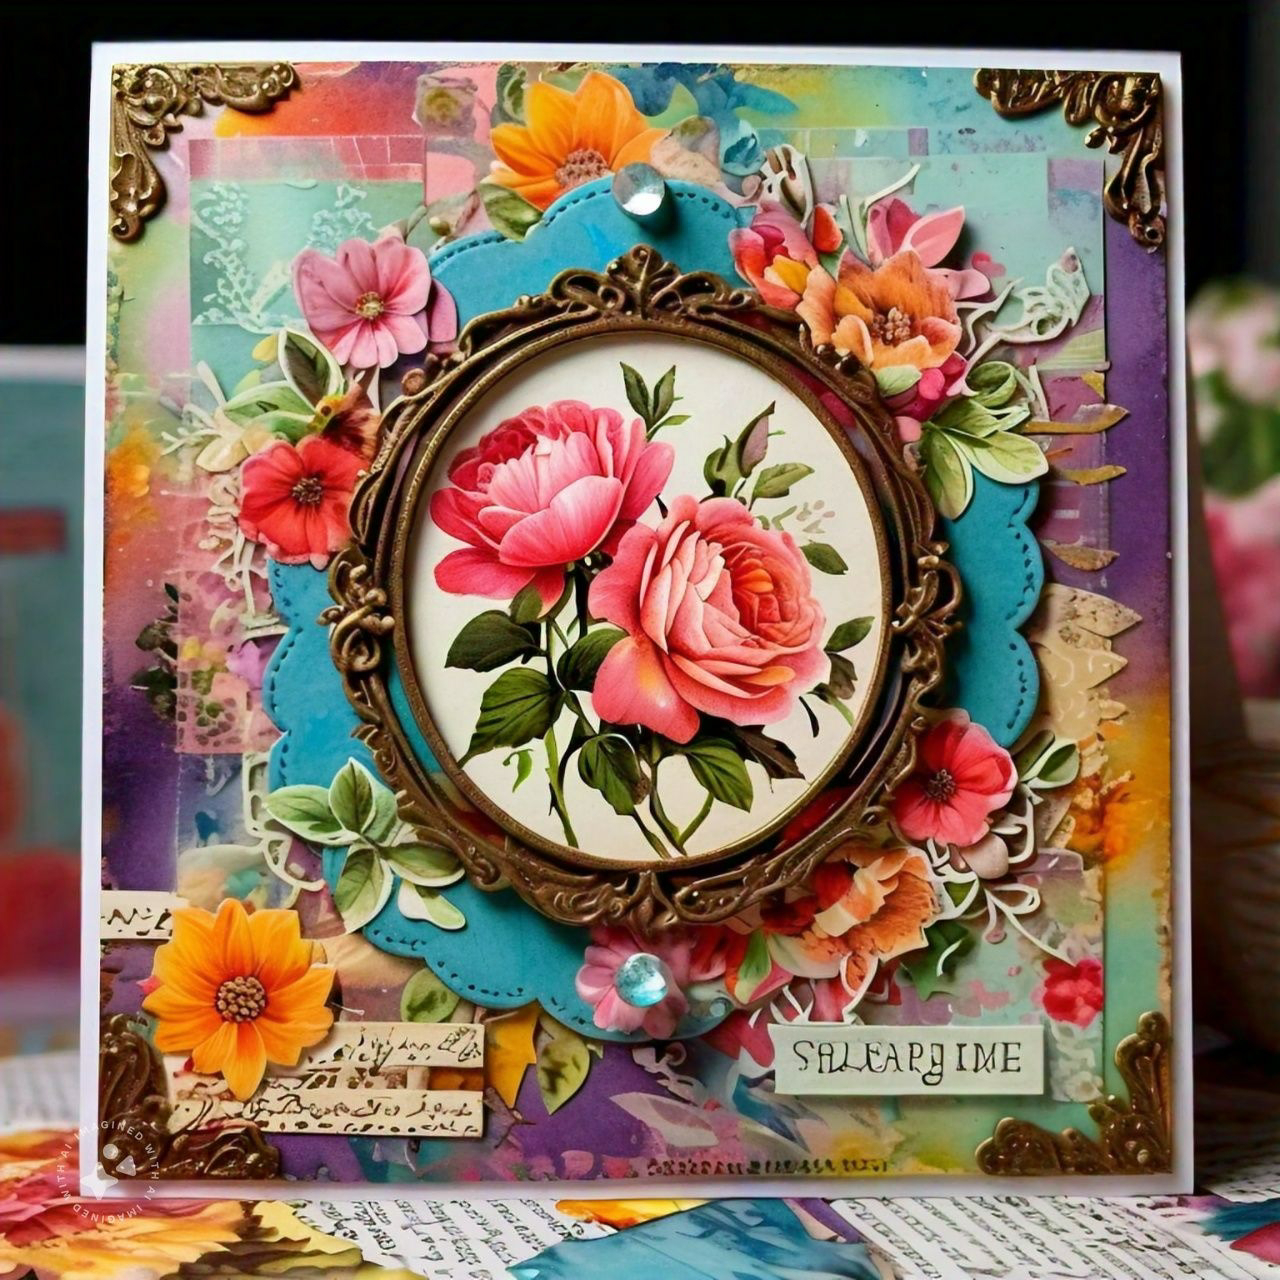
1. Floral patterns: Vintage flowers, botanical prints, or colorful blooms.
2. Geometric patterns: Chevrons, polka dots, stripes, or abstract shapes.
3. Whimsical patterns: Fantasy creatures, clouds, balloons, or playful illustrations.
4. Nature-inspired patterns: Leaves, branches, birds, or water elements.
5. Abstract patterns: Colorful splatters, marbled effects, or textured designs.
6. Vintage patterns: Old book pages, music sheets, or antique advertisements.
7. Pop art patterns: Bright colors, bold graphics, and fun designs.
8. Boho patterns: Mix-and-match designs with lace, ribbons, or fabric scraps.
Remember, you can mix and match patterns to create a unique decoupage design!
I will be creating my own soon.
How to decoupage in cardmaking
Cut out each individual piece that you would like to layer up.
Use a pencil to lightly write a number on the back of each one so that you can easily remember the order that they’ll go in.
Avoid leaving any white paper from the pieces, but if any is left showing, try to hide it by adding colour with pencils or pens.
After you’ve cut out each element, it’s time to begin your layering. Find the base piece and adhere this directly to your card with glue or adhesive.
Use foam pads, 3D glue or regular all-purpose adhesive to add the next layer, making sure that it is straight and it the correct position. It often helps to stand and look at the card from above to ensure that the piece is in the correct place.
Continue to add your layers until you have finished your design. Add embellishments to your card and decorate to your tastes, and you’ll have a beautiful finished piece!
With decoupage, the possibilities are endless! Have fun creating your card.
Abstract greeting cards have a rich history that dates back to the early 20th century. Here's a brief overview:
- 1910s: Abstract art emerged as a movement, led by artists like Wassily Kandinsky and Kazimir Malevich.
- 1940s-1950s: Abstract Expressionism gained popularity, with artists like Jackson Pollock and Mark Rothko creating bold, expressive works.
- 1960s: Abstract art became more accessible and commercialized, leading to the creation of abstract greeting cards.
- 1970s-1980s: Abstract cards gained popularity, featuring vibrant colors, geometric shapes, and experimental designs.
- 1990s-2000s: Digital art and computer graphics enabled new possibilities for abstract card design.
- Present day: Abstract greeting cards continue to evolve, incorporating various styles, techniques, and materials.
Abstract greeting cards have become a popular way to express emotions and thoughts in a unique and artistic way. They often feature:
- Vibrant colors and shapes
- Expressive brushstrokes and textures
- Geometric patterns and forms
- Whimsical and fantastical elements
These cards have become a staple in the greeting card industry, offering a fresh and creative way to connect with others.
Alright now we have a wonderful picture of a decoupage card and a watercolor painted flower, which is Aster flower. The firstcard also holds the netted fabric floral into three layers and button stitched up at the center that is decoupage magic.

"In conclusion, greeting cards are a timeless way to express our thoughts, feelings, and emotions. From traditional to modern, handmade to digital, the world of greeting cards offers a vast array of creative possibilities. Whether it's a birthday, anniversary, or simply a gesture of kindness, a greeting card can bring joy and warmth to someone's life.
As we've explored in this blog, the art of greeting card making is a beautiful way to connect with others, share our creativity, and preserve memories. From abstract designs to decoupage, collage, and beyond, the possibilities are endless.
So next time you want to show someone you care, consider creating or sending a greeting card that's as unique and special as the person you're sending it to. Let's keep the art of greeting card making alive and spreading love, one card at a time!"
Thank you all for your time and support in visiting my ipage blog. As always I will be on my next creative Color values and patterns project in my Graphic designs.
Cheers,
Gcb studios
Comments
Post a Comment